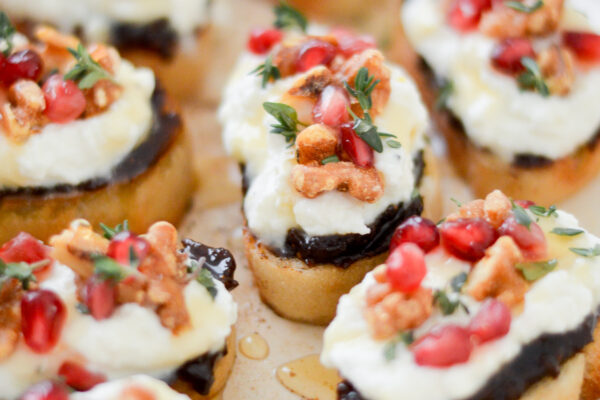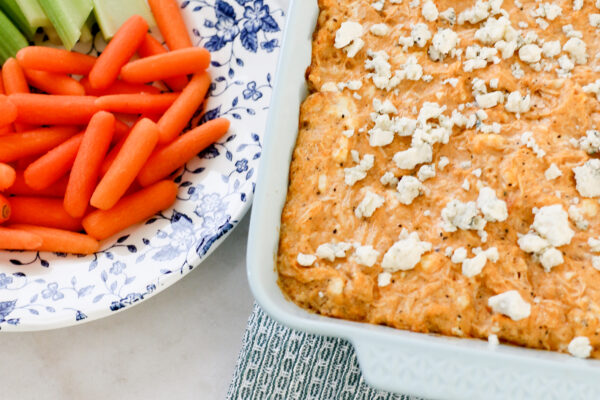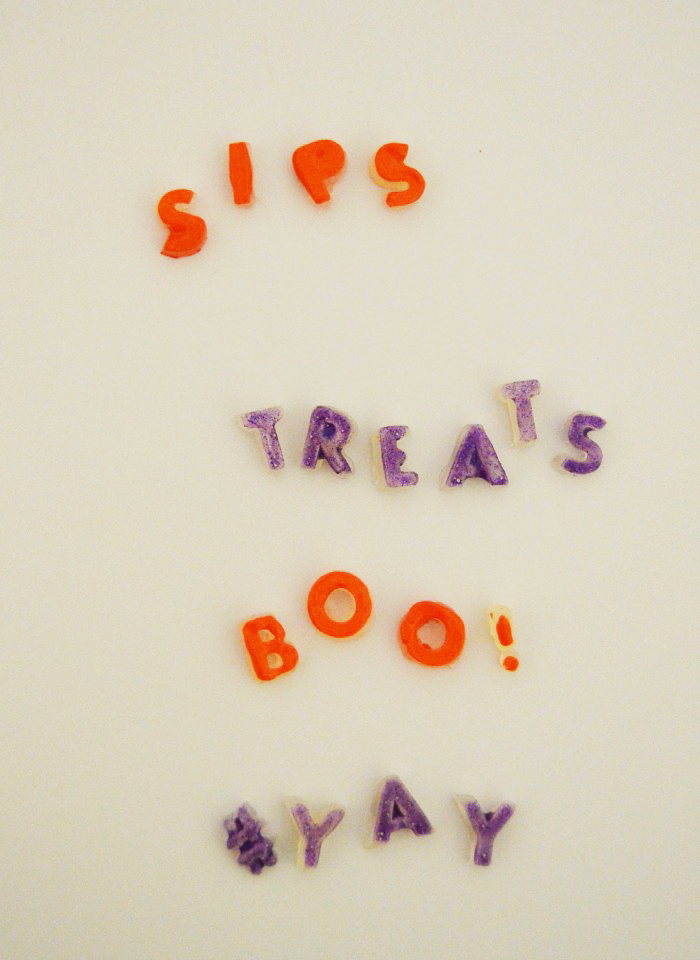
Ever since last week’s party with Food Should Taste Good, I’ve been bitten by the entertaining bug. Thankfully, between Halloween, football, Thanksgiving and my birthday, there are no shortages of party opportunities!
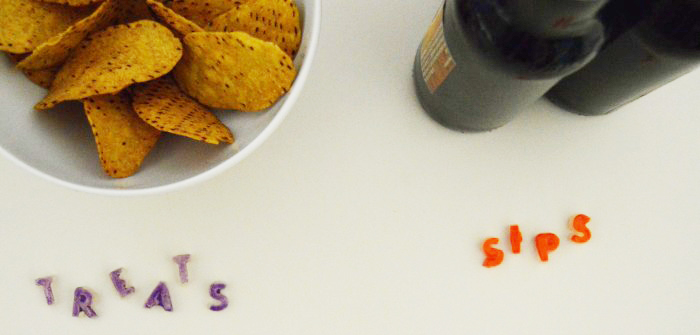
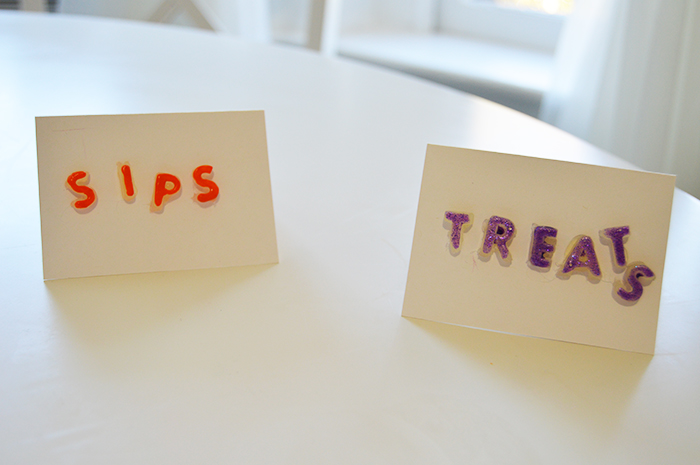
Mod Podge generously sent supplies to create Halloween entertaining decor and I decided to create a project both whimsical + practical. I know, it’s crazy to think about those two adjectives in the same sentence but hear me out. Last weekend, I thought about having menu placards for my dishes but well, time escaped me and it just didn’t happen. But I love the idea of menu displays to give your spread some pizzazz. So let’s get started DIYing some letter menu displays!
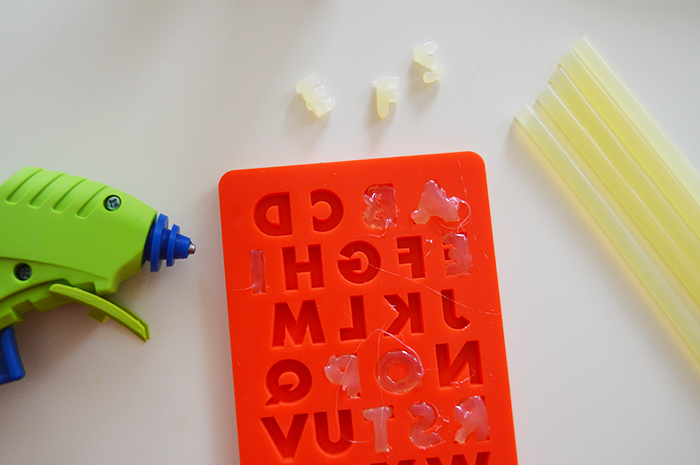
Supplies
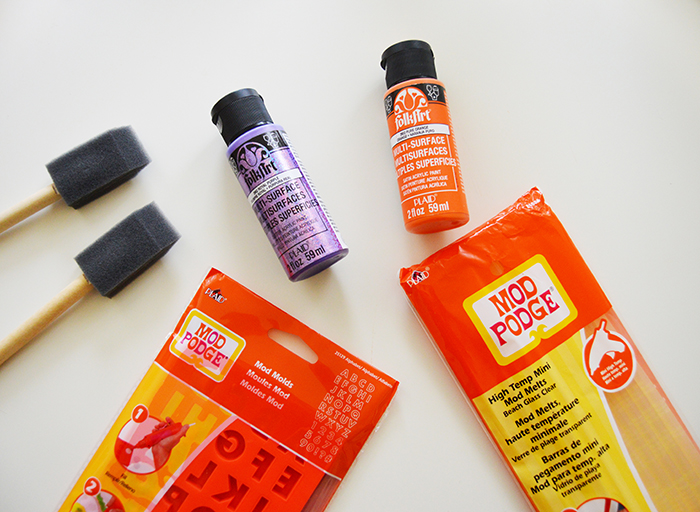
Mod Podge High Temp Mini Mod Melt
Mod Podge Mod Molds
Hot glue gun
Sponge brushes + Q-tips
FolkArt multi-surface acrylic paint, orange + purple glitter
Placecards
Instructions
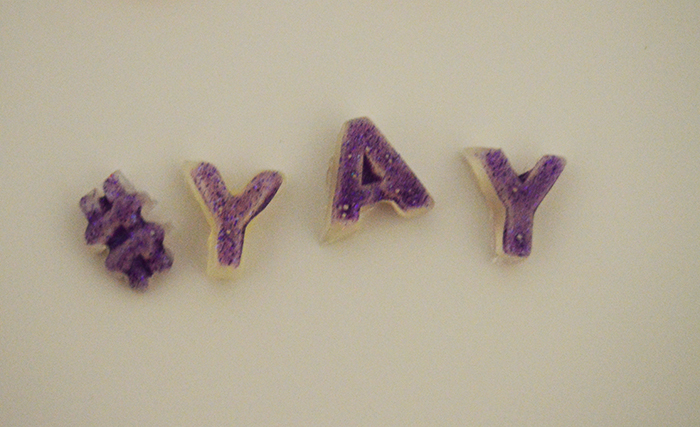
1. Load the Mod Podge High Temp Mini Mod Melts into your hot glue gun. Fill in the letters corresponding to your menu. I might have gotten a little carried away and created some additional sayings : )
2. Wait 10 minutes and then pop out the letters. Remove any stray hot glue strands.
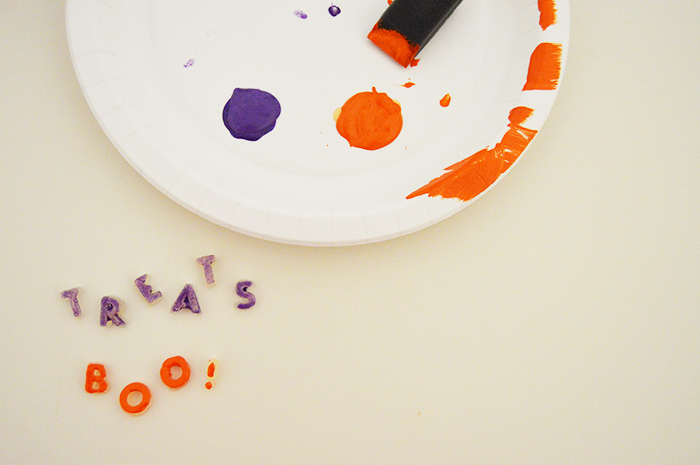
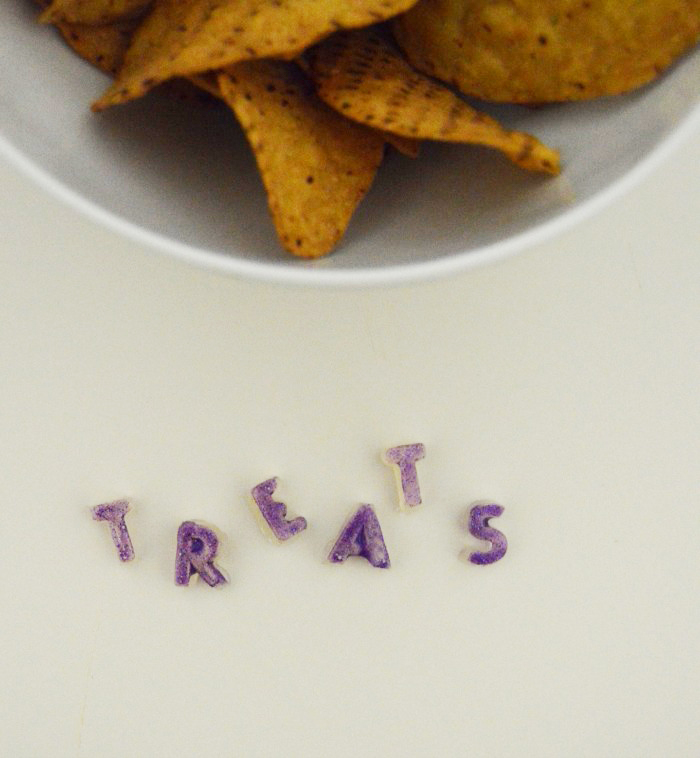
3. Paint the letters with the FolkArt multi-surface acrylic paint. I used the sponge brush to paint and the q-tips for touchups. Let the paint dry for at least an hour.
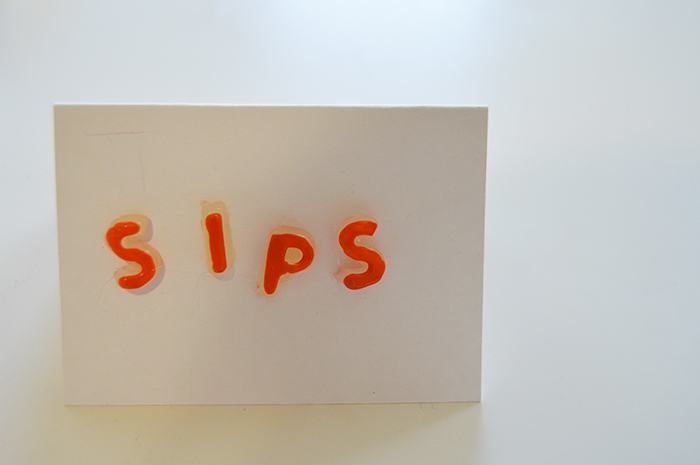
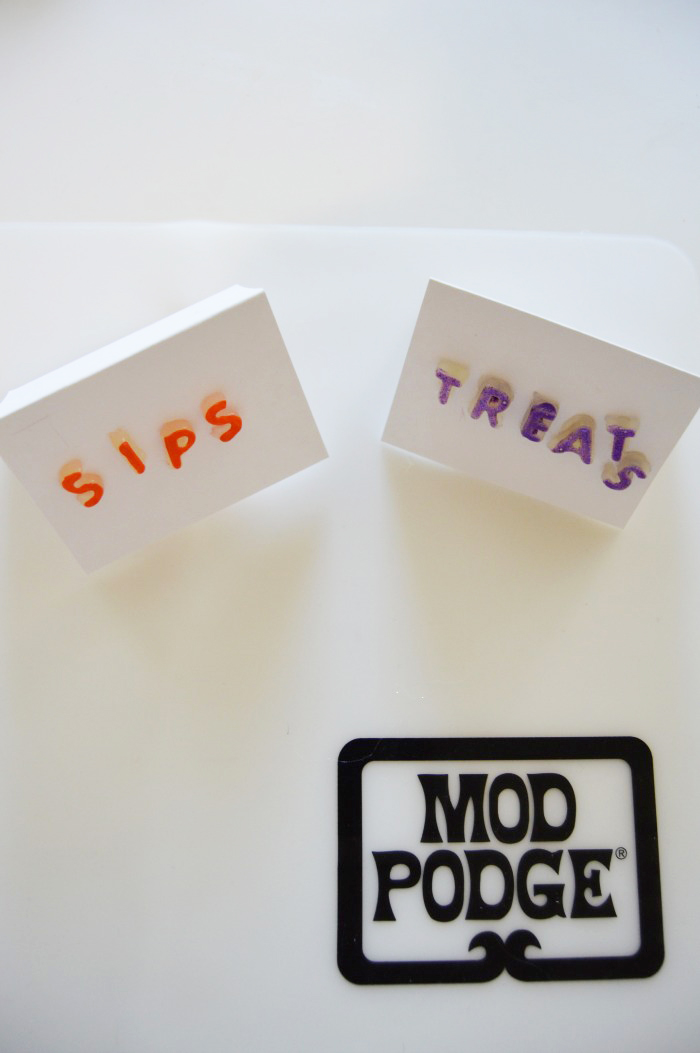
4. Using Mod Podge, glue the letters to a placecard.
For more Halloween decor inspiration from Mod Podge, check out these tutorials and keep the party goin’:
DIY Faux Sugar Skulls with Collage Clay by Mod Podge
3 DIY Decoden Cell Phone Cases with Mod Podge + Dollar Store Jewelry
Plaid Blog – Introducing Mod Podge Modeling Clay
For more DIY fun, Mod Podge has some awesome crafts on their channels:
Newsletter (Coupon alert!!)
* * *
Let’s Chat!
Twitter | Pinterest | Instagram | Bloglovin’
This post was sponsored by Mod Podge®. All opinions and product sentiments are my own. Thank you for supporting the brands that support DC Girl in Pearls!

