 What’s better than one mimosa? The only answer: bottomless mimosas! Right now whether or not I like a brunch really just hinges on a topknotch bottomless mimosa deal. A couple of months ago, I went to Le Diplomate for brunch. I was more in a lunch mood and ended up with a chicken club sandwich, which was delicious, and a solitary mimosa. $30 poorer, I left Le Dip not feeling wholly satisfied with my brunch. For $30 or $40, I could be stuffed full of pancakes + breakfast potatoes with a very happy mimosa bounce in my step. That is where my brunch heart truly lies.
New Year’s Day practically mandates brunch filled with glorious carbs to work double time to soak up last night/that morning’s champagne. Bonus points if you wear your sequined outfit to brunch. But long lines can put a serious downer on your brunch of champagne champions’ plans. Or maybe last night’s shenanigans make it physically impossible to leave your couch or even bed. Thankfully, all it takes is fresh or frozen fruit, sugar + champagne to create your own mimosa bar at home! Fun fact: At home means you can make your mimosas as strong as you like! Hangover, you’ve been warned.
Now don’t get me wrong, I like OJ + bubbly just as much as the next girl but I’ll let you in on a little secret: I like my morning champagne cocktails made with simple syrups and not just orange juice. OJ’s great and all but it fills me up very quickly, which doesn’t leave a whole lot of room for more mimosas. And how can I turn my back on my beloved waffles?!
Through scientific experiments (read: a whole lot o’ brunches), I discovered the common denominator to my favorite mimosas was three words: fruit simple syrup.
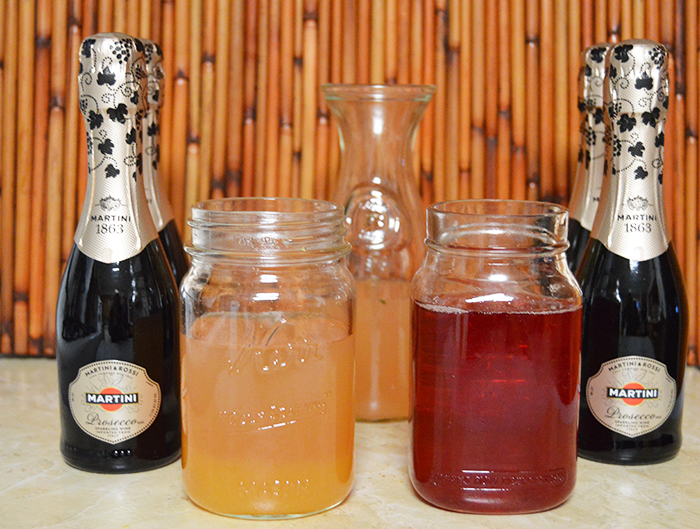
I whipped up three simple syrups for a DIY bellini bar, it’s incredibly easy and mostly involves boiling sugar water + crushing fruit with a spatula. You got this!
Start by adding the sugar to the water in a small saucepan and bring to a boil. Throw in the fruit + lower the heat to medium and let it simmer, covered, for about 30 minutes. About 15 minutes in, press down on the fruit with a spatula or spoon to release more of the juice into the sugar water. Remove the saucepan from the heat and let the syrup fully cool. Strain the juice into a container to separate the fruit from the syrup. Refrigerate up to a week. BAM! How easy is that?!
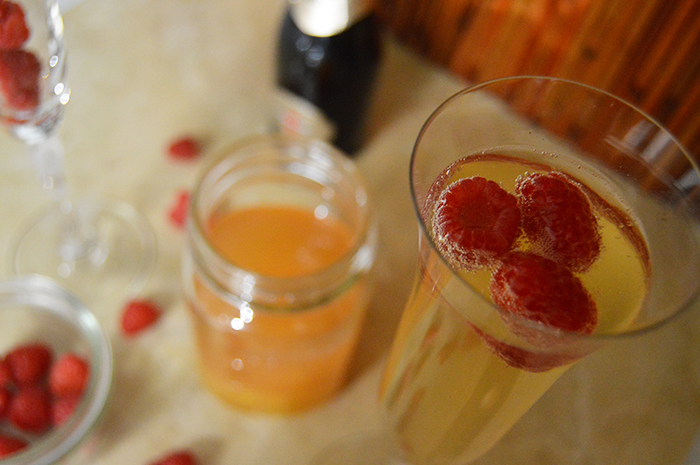
I created a peach simple syrup for a traditional Bellini as well as strawberry (not pictured) and grapefruit-thyme syrups. The strawberry syrup was my favorite and will taste just as delicious in a flute with champagne as it would drizzled over strawberry crepes, pancakes and waffles (It all comes full circle – the Circle of Brunch). For an extra pop of color, float one or two raspberries in the peach Bellinis!
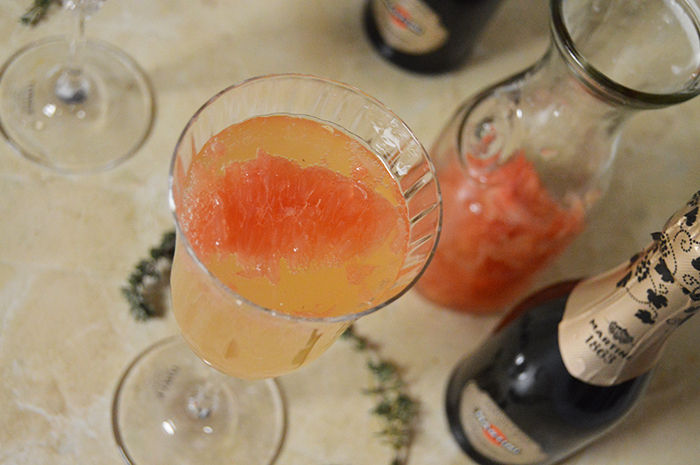
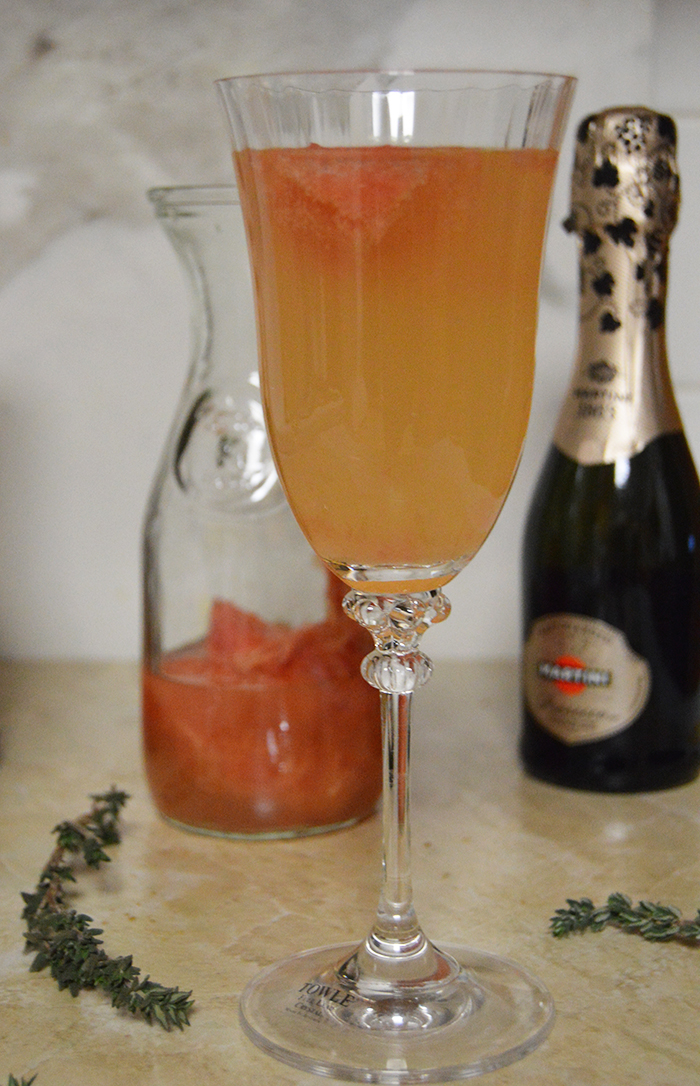
The grapefruit-thyme was more on the tart taste spectrum and took an additional step in the process: Boil the thyme sprigs in the sugar water mixture and at the end, add it to the squeezed grapefruit juice.
For mimosas, I like to go with the more inexpensive champagne since I’m usually buying for a group + want the most bubbles for my buck. Trader Joe’s Blanc de Blancs is my favorite big group-champagne but I also love Martini’s 4 pack of mini Prosecco bottles for a smaller group. Or to keep handy for just you ; )

Fruit Simple Syrup (Works for Fruit of Your Choice)
Ingredients
2 cups water
1 cup sugar
Fruit, fresh or frozen – Amount depends on the fruit: For the peaches, I used about 2 peaches’ worth of frozen slices but for strawberries, I used approximately 2 handfuls. You can’t go wrong with the fruit amount!
Directions
Combine the water and sugar in a small saucepan and bring to a boil.
Add the fruit + lower the heat to medium and let it simmer, covered, for about 30 minutes.
About 15 minutes in, press down on the fruit with a spatula or spoon to release more of the juice.
Remove the saucepan from the heat and let the syrup fully cool.
Strain the juice into a container to separate the fruit from the syrup.
Refrigerate up to a week.
* * *
Let’s Chat!
Twitter | Pinterest | Instagram | Bloglovin’
I did this for a bridal shower this past spring and it was adorable!