Okay, I’m going to let you in on a little secret.
Decorating on a budget is 100% doable.
All it takes is a little elbow grease and the mental toughness to get down and dirty with the DIY.
Growing up and riding around town with my mom, I remember pulling over every time she spied an estate sale sign. I didn’t mind because while she was checking out the wares, I was poring through the books and let me tell you, I found some real gems for $1 each.
When it came time to furnish my own “big girl” apartment, the decorating budget was pretty lean to put it mildly. So I had to roll up my sleeves + get creative.
Thrift shops and estate sales are gold mines for finding beautiful decor pieces for a fraction of the price. As long as you’re willing to dig (sometimes literally), you can discover buried treasure. Like my collection of blue + white toile vases assembled from finds at Eastern Market and even Goodwill.
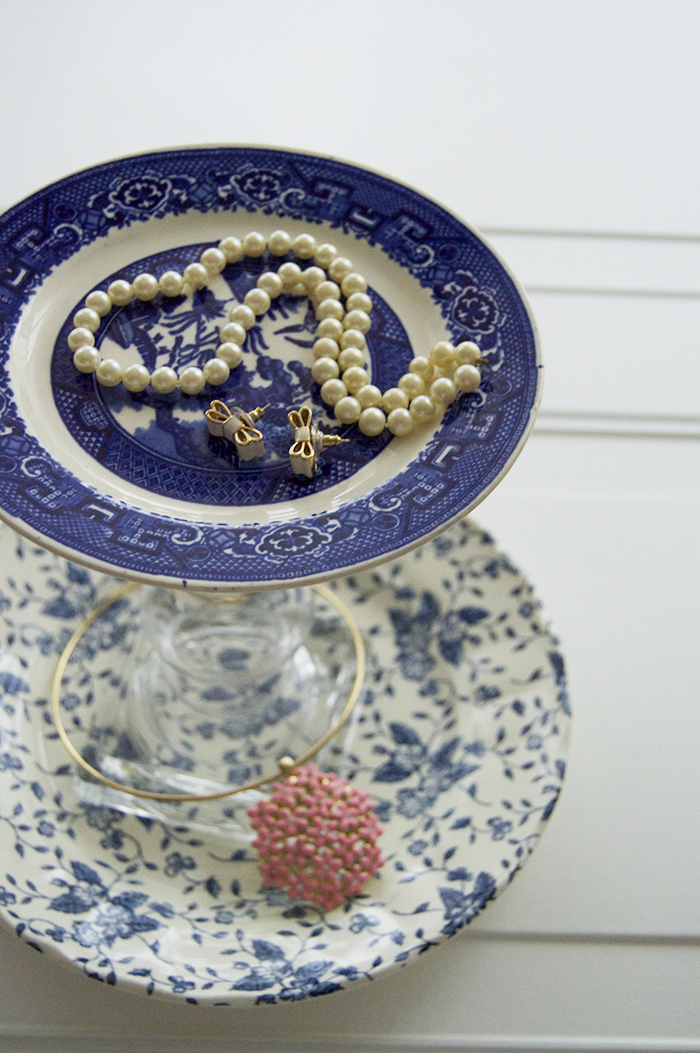
I was doing a New Year cleanout/Goodwill donation when I came across an acrylic candle holder, an Ulta Beauty gift with purchase, still in the box. Being a fireman’s daughter, I’m not one to light candles so I don’t really have a use for a candle holder. I was about to throw it into the donation heap when my eyes landed on the toile plate and a lightbulb turned on.
I’ve been using the blue + white toile plate upper tier as a jewelry holder for a few years now but the candle holder could take it to a new level. In a 550 sq ft apartment, adding more storage space is a top priority. I just had to find another plate for a DIY jewelry holder…
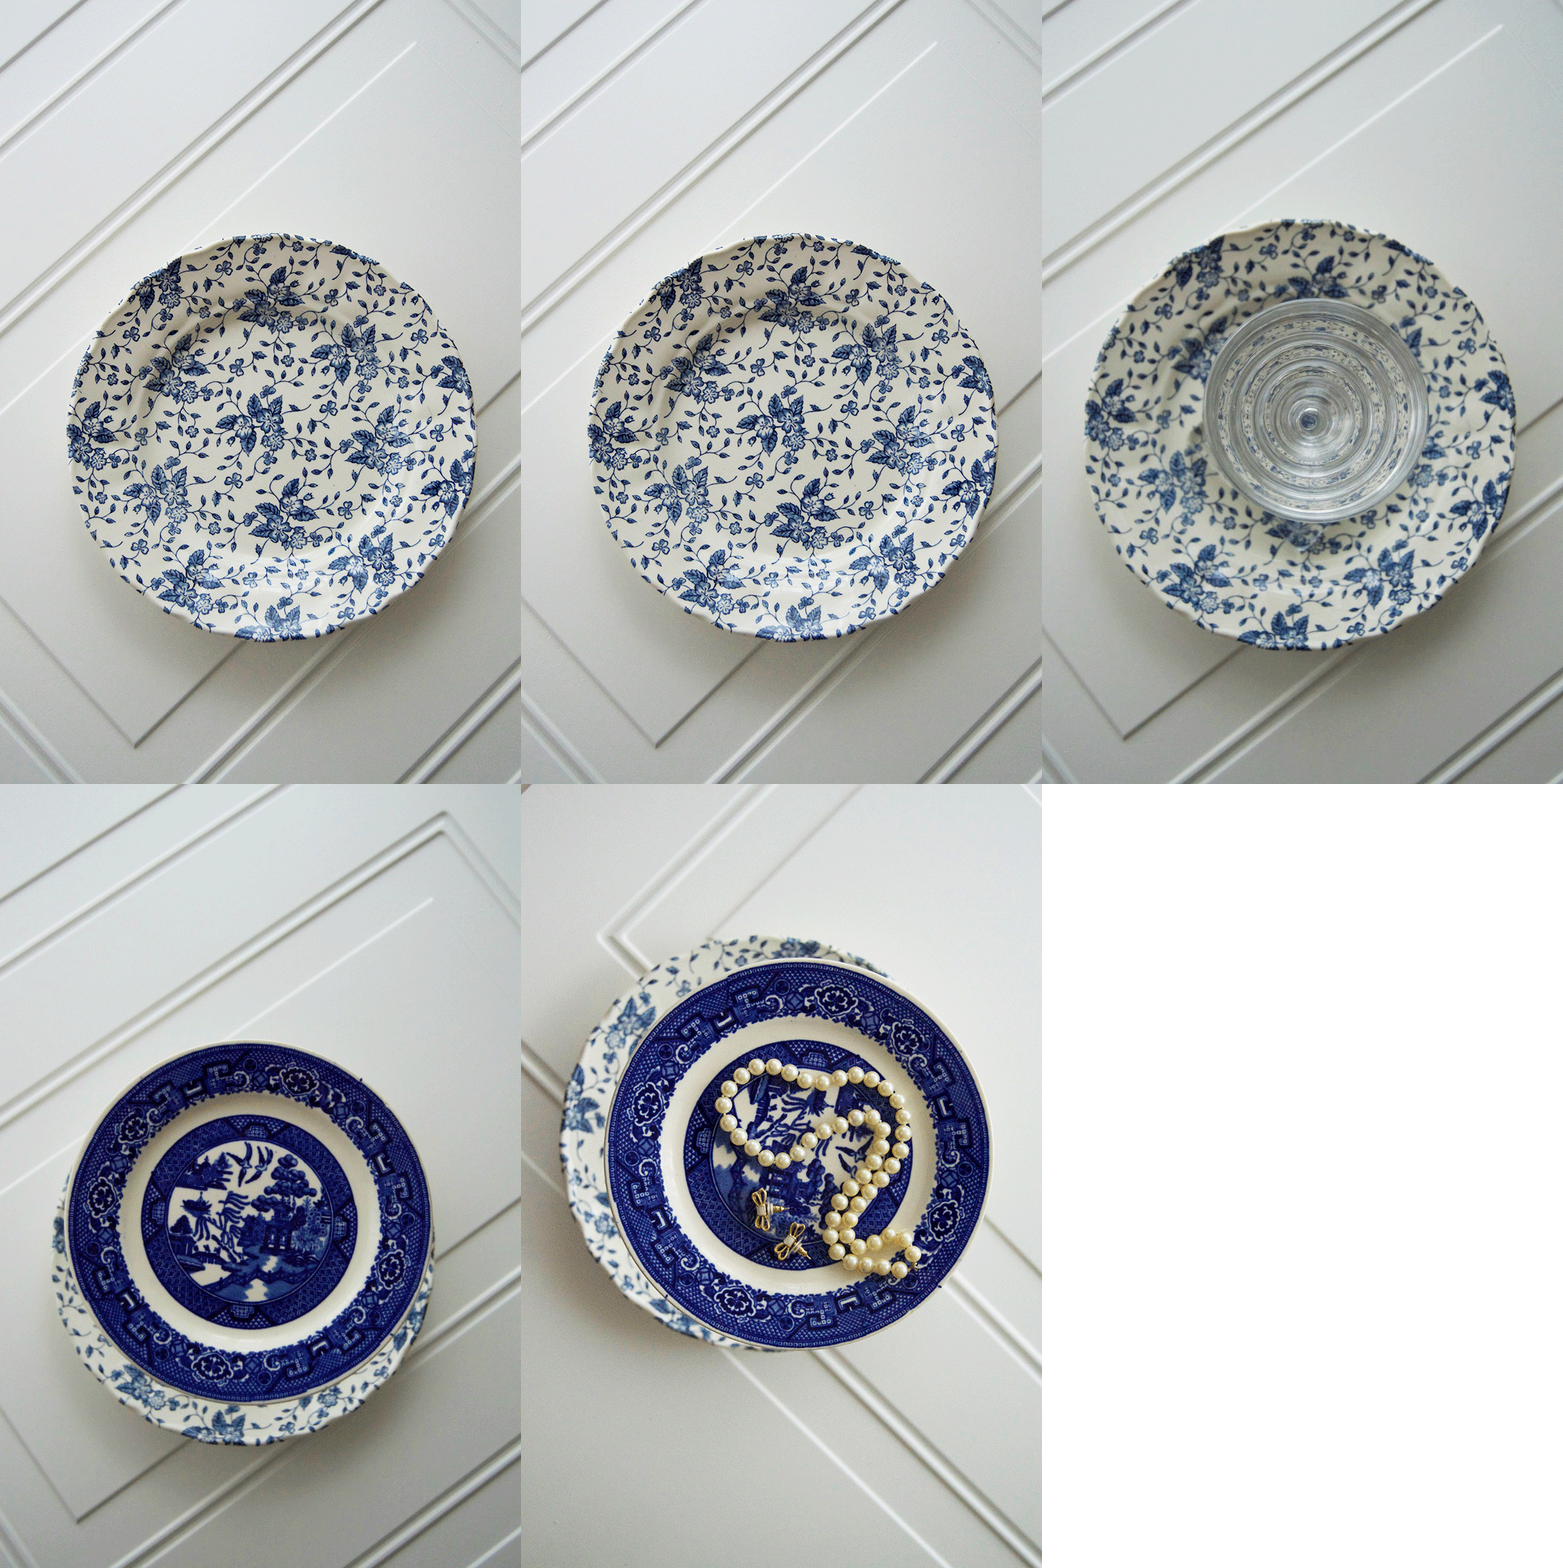
The hunt was on! And trust me, locating a blue + white plate that I liked and was the right size was no small task. I did a LOT of digging but this weekend, I found it!
DIY Jewelry Holder, check! ; )
Do you have a thrift shop find you love?
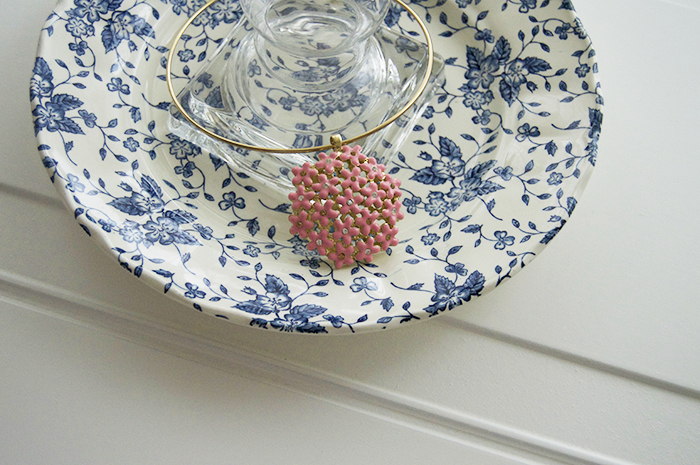
Supplies
1 size dessert plate
1 size dinner plate
Superglue
Candle holder (for thicker candles)
Directions
Simply line the bottom edge of the candle holder with Superglue and gently press into the dinner plate (not so firmly that it breaks.
Line the top edge of the candle hold with the glue and repeat for the dessert plate.
It should be dry in an hour but I gave mine 2 hours to ensure it’s thoroughly dry.
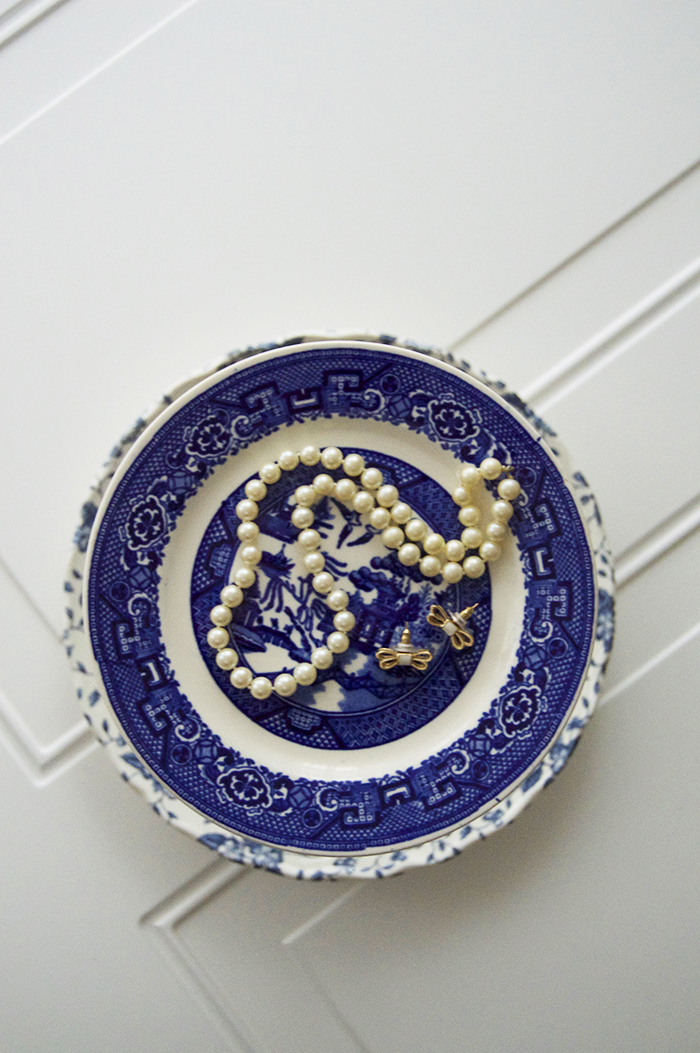
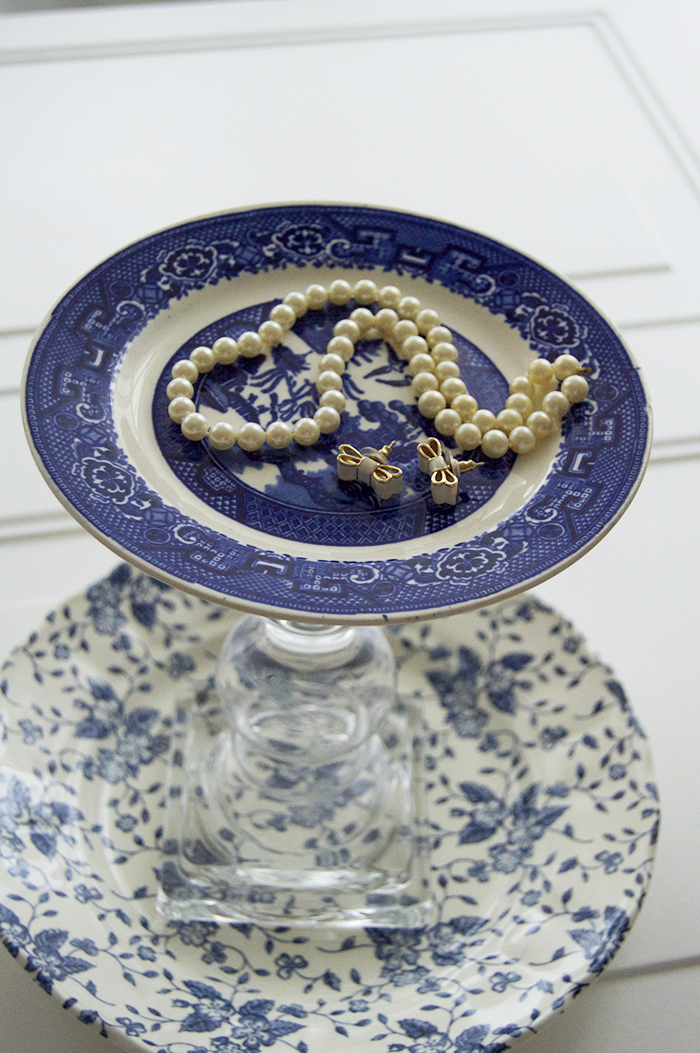
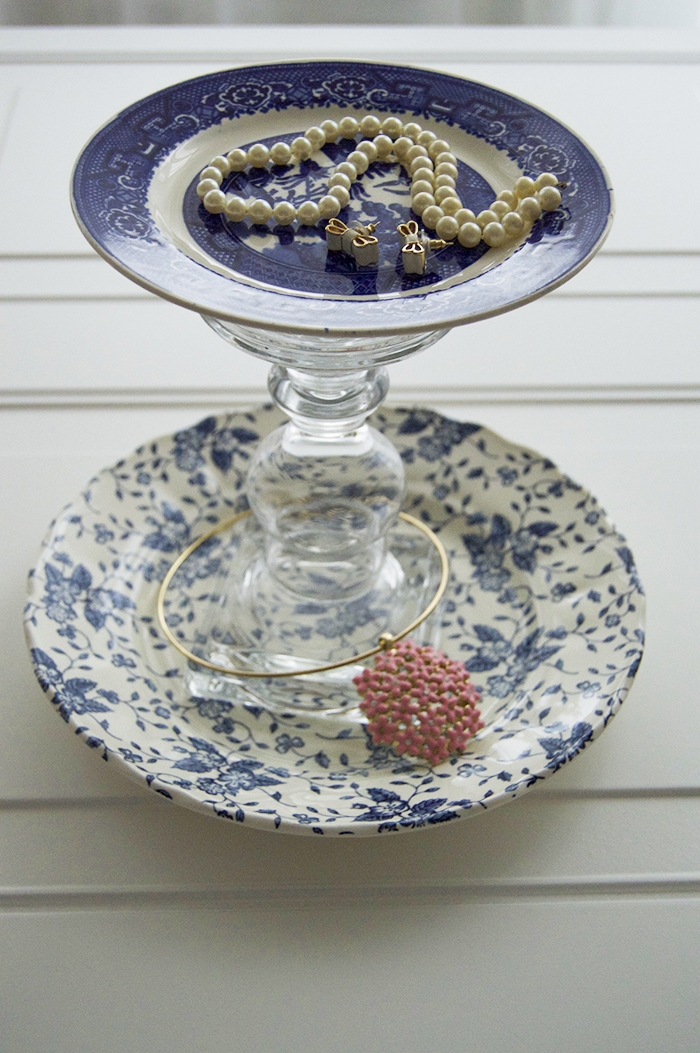
* * *
Let’s Chat!
Twitter | Pinterest | Instagram | Bloglovin’
